
Home IoT Hub Series · 24
Part 24 — AI Butler Method B: A Safe AI Broker on an Old PC, Controlled via Telegram
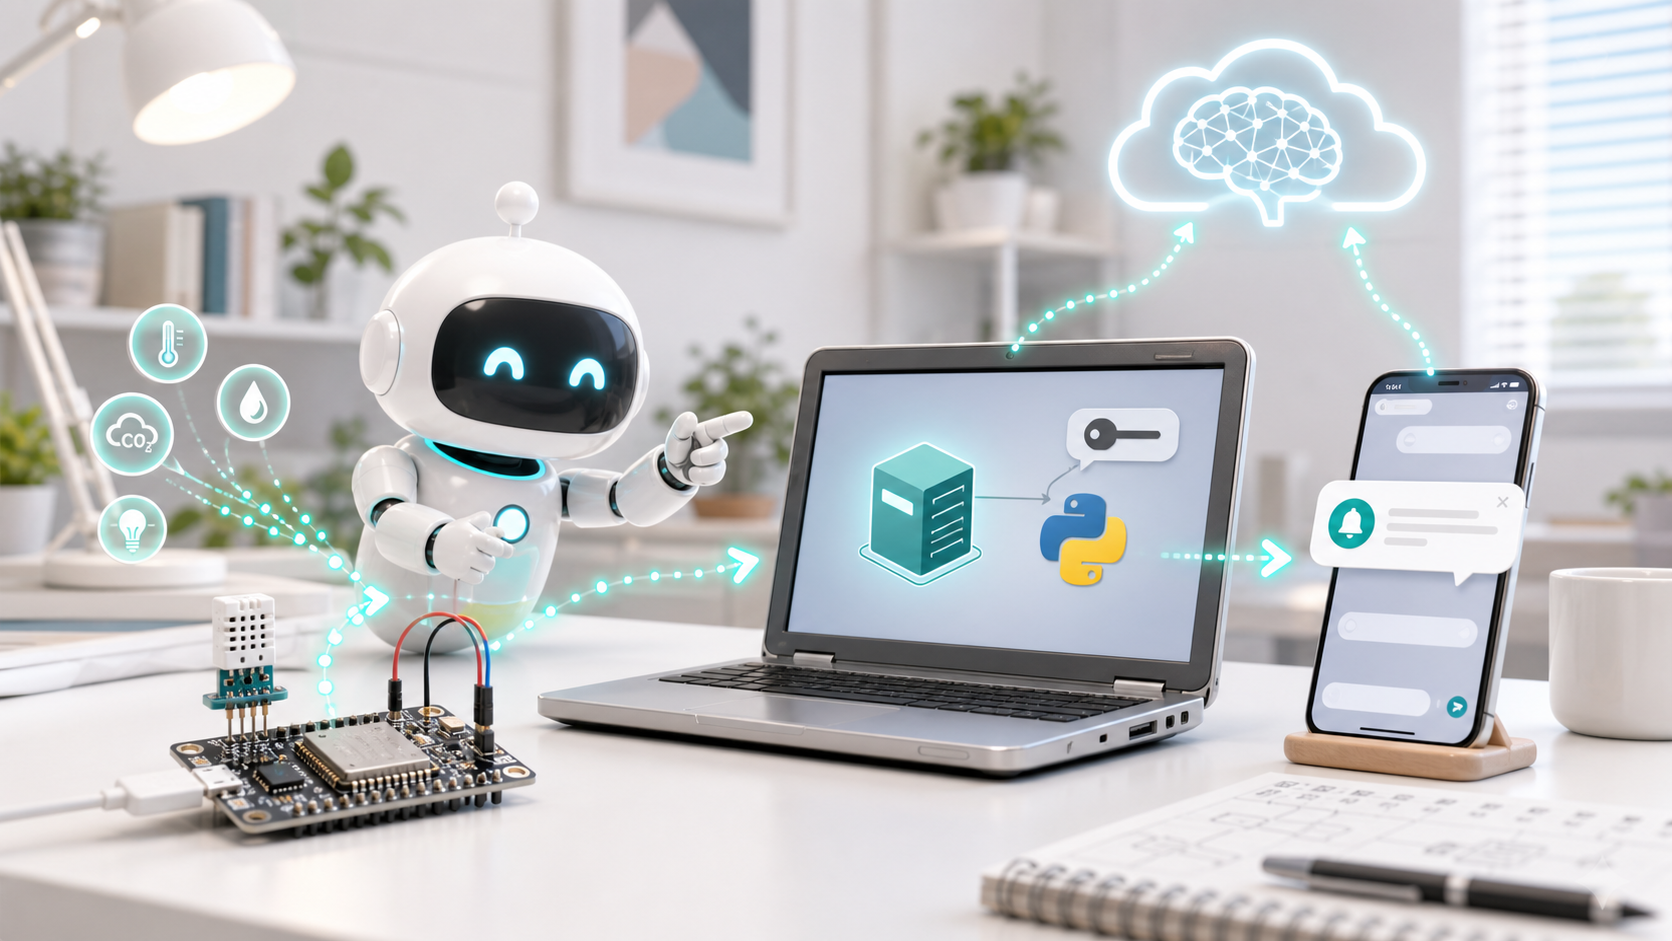
In Part 23 we called the AI API directly from the ESP32. It worked — but honestly, it was a horrible security hole. The API key was sitting in flash as plaintext, TLS verification was turned off, and the only way to see the response was with the PC plugged in over USB.
What we'll fix in this part:
| Method A's problem | Method B's fix |
|---|---|
| The API key is exposed on the ESP32 | The API key lives only on the PC; the ESP32 never sees it |
| You can't see the response when you're away | A Telegram bot pushes it to your phone |
| The AI only talks, it can't act | You send a command over Telegram → a real actuator fires |
| The headache of managing TLS certificates | Python's requests handles it all for you |
Parts and cost
| Part | Cost (approx. USD) | Notes |
|---|---|---|
| Any PC/laptop you already have | $0 | Windows 10, a MacBook, Ubuntu — anything. Even a 10-year-old machine is plenty |
| Python 3.8 or newer | $0 | Free download from python.org |
| A Telegram account + app | $0 | 99% chance it's already on your phone |
| AI API key | Pay-as-you-go | Same as Part 23. About $0.0015 per 1K tokens on GPT-3.5-turbo |
| ESP32 (the brain) | — | You already have it from Part 22 |
| Additional cost | $0 |
Before you start
| What you need | Install guide | How to check |
|---|---|---|
| Arduino IDE | How to install | Does it launch and show a blank sketch window? |
| ESP32 board setup | How to install | Do you see ESP32 Dev Module under Tools → Board? |
| Python 3.8+ | How to install | Does python --version work in a terminal? |
| Telegram + bot | How to install | Does @MyHomeAIBot respond to /start? |
| Required libraries | How to install | Are TFT_eSPI and Adafruit SSD1306 installed? |
Concepts for this part — jargon vs. plain words
Here are the new terms that show up in this part. Don't be intimidated. It's nothing serious.
| Jargon | What it really means (analogy) |
|---|---|
| Flask | A tool for building web servers in Python. Think of it as an "order counter." When data arrives at an address like /data, it takes it and processes it |
| Broker | The friend who runs errands in the middle. "ESP32, hand over the data. AI, analyze this. Telegram, send this out." It does all of that by itself |
| REST API | An agreement for exchanging data over the internet. The rule that says "send data to this address and I'll receive it" |
| Telegram bot | A Telegram account that sends messages automatically. It's a program, not a person, but from the outside it just looks like a Telegram friend |
Overall architecture
Here's the simple version. The ESP32 is the thermometer in your house. It collects things like temperature, humidity, and door-open events and sends them to the PC. The PC is your assistant. It takes the thermometer's readings, asks the AI "analyze this for me," and forwards the AI's answer to your phone. Telegram is the assistant texting you. Even when you're out, if you ask "how's the house right now?" the assistant answers.
Drawn as a picture, it looks like this:
┌──────────┐  HTTP POST   ┌──────────────┐  HTTPS      ┌───────────┐
│  ESP32   │ ────────────→│  Old PC      │ ──────────→ │ AI API     │
│ (brain)  │←──────────── │  Flask server│←────────────│ (GPT etc.) │
│          │  HTTP GET    │  (Python)    │  JSON reply │            │
│20 sensors│  /command    │              │             │            │
│ IR LED   │              │  Parse the   │             │            │
│ Buzzer   │              │  AI reply    │             │            │
└──────────┘              │  and act     │             │            │
                          │              │             │            │
                          │Telegram link │  ──→  📱 your phone       │
                          │              │  ←──  "turn off AC"       │
                          └──────────────┘
Flow: 1. Every 30 seconds the ESP32 HTTP-POSTs its 20 sensor values to the PC (/data). 2. The PC's Flask server receives and stores them, and every 5 minutes sends an analysis request to the AI API. 3. It parses the AI response and sends it out over Telegram. 4. When you type "turn off the AC" in Telegram, the Flask server interprets it and stores it at /command. 5. The ESP32 periodically checks /command and executes things like sending IR.
🚨 ESP32 code — just copy this as-is and upload it
Below is the complete code, combining the Part 22 code with all the new Part 24 features. No edits needed — just paste this one file into the Arduino IDE, change PC_URL to your PC's IP, and upload.
Compared to Part 22, the newly added parts are the three functions sendDataToPC(), checkCommand(), executeCommand(), plus two timer-call lines inside loop(). Everything else is identical to Part 22.
#include <WiFi.h>
#include <WebServer.h>
#include <TFT_eSPI.h>
#include <XPT2046_Touchscreen.h>
#include <HTTPClient.h>

// =============================================
// Wi-Fi settings (fill in yourself!)
// =============================================
const char* ssid     = "YOUR_SSID";
const char* password = "YOUR_PASSWORD";
const char* ap_ssid     = "IoT_Hub_Net";
const char* ap_password = "iothub1234";

// =============================================
// PC broker URL (fill in yourself!)
// =============================================
const char* PC_URL = "http://192.168.0.100:5000"; // ← change this to your PC's IP

// =============================================
// Hardware pins
// =============================================
#define BUZZER_PIN 13
#define TFT_BL     4
TFT_eSPI tft = TFT_eSPI();
WebServer server(80);

#define TS_CS  5
#define TS_IRQ 21
XPT2046_Touchscreen ts(TS_CS, TS_IRQ);

// =============================================
// 20 memory slots
// =============================================
#define SLOT_COUNT 20
String slot[SLOT_COUNT] = {
  "--", "--", "--", "--", "--",
  "--", "--", "--", "--", "--",
  "--", "--", "--", "--", "--",
  "--", "--", "--", "--", "--"
};

const char* label[SLOT_COUNT] = {
  "Living Temp","Living Hum","Outside Temp","AC",
  "Boiler","Stove","Gas Leak","Fire",
  "Front Door","Door Lock","Living Light","Fridge Temp",
  "CO2","Dust PM2.5","Power","Water",
  "Hot Water","Rain","Bath Hum","Pet Bowl"
};

// =============================================
// Colors
// =============================================
#define C_BG       TFT_BLACK
#define C_TITLE_BG TFT_WHITE
#define C_CARD     TFT_DARKGREEN
#define C_CARD_WARN TFT_RED
#define C_LABEL    TFT_SILVER
#define C_VALUE    TFT_YELLOW

// =============================================
// Timers
// =============================================
unsigned long lastScroll = 0;
unsigned long lastBuzzer = 0;
int scrollOffset = 0;
const int ITEMS_PER_PAGE = 4;
const int SCROLL_INTERVAL = 3000;
bool warningActive = false;

// PC communication timers
unsigned long lastCmdCheck = 0;
unsigned long lastDataSend = 0;
#define CMD_INTERVAL  5000
#define DATA_INTERVAL 30000

// =============================================
// Touch card zones
// =============================================
struct CardZone { int x, y, w, h, slotIdx; };
CardZone cards[4];

// =============================================
// setup
// =============================================
void setup() {
  Serial.begin(115200);

  pinMode(BUZZER_PIN, OUTPUT);
  digitalWrite(BUZZER_PIN, LOW);

  tft.init();
  tft.setRotation(1);
  tft.fillScreen(C_BG);
  tft.setTextWrap(false);

  ledcSetup(0, 5000, 8);
  ledcAttachPin(TFT_BL, 0);
  ledcWrite(0, 200);

  ts.begin();
  ts.setRotation(1);

  tft.setTextColor(TFT_WHITE, C_BG);
  tft.drawString("IoT Hub + AI", 40, 140, 4);
  tft.drawString("iothub.co.kr", 60, 180, 2);
  delay(1000);

  WiFi.mode(WIFI_AP_STA);
  WiFi.begin(ssid, password);

  tft.fillScreen(C_BG);
  tft.drawString("WiFi connecting...", 30, 100, 2);
  Serial.print("Connecting to WiFi");
  int dots = 0;
  while (WiFi.status() != WL_CONNECTED) {
    delay(500); Serial.print(".");
    tft.drawString(".", 180 + dots * 8, 100, 2); dots++;
  }
  Serial.println("\nSTA IP: " + WiFi.localIP().toString());

  WiFi.softAP(ap_ssid, ap_password);
  Serial.println("AP  IP: " + WiFi.softAPIP().toString());

  server.on("/set", handleSet);
  server.on("/", handleRoot);
  server.on("/status", handleStatus);
  server.onNotFound(handleNotFound);
  server.begin();

  tft.fillScreen(C_BG);
  tft.drawString("IoT Hub Ready", 20, 30, 4);
  tft.drawString("LAN: " + WiFi.localIP().toString(), 10, 80, 2);
  tft.drawString("PC : " + String(PC_URL), 10, 110, 2);
  delay(3000);
}

// =============================================
// loop
// =============================================
void loop() {
  server.handleClient();
  handleTouch();
  updateTFT();
  updateBuzzer();

  unsigned long now = millis();

  // Send sensor data to the PC every 30 seconds
  if (now - lastDataSend > DATA_INTERVAL) {
    lastDataSend = now;
    sendDataToPC();
  }

  // Check the PC for a new command every 5 seconds
  if (now - lastCmdCheck > CMD_INTERVAL) {
    lastCmdCheck = now;
    checkCommand();
  }
}

// =============================================
// Check warning state
// =============================================
bool checkWarning() {
  for (int i = 0; i < SLOT_COUNT; i++) {
    if ((i == 6 || i == 7 || i == 8)
        && slot[i] != "0" && slot[i] != "--") return true;
    if (i == 19 && slot[i] != "--" && slot[i].toInt() < 50) return true;
  }
  return false;
}

// =============================================
// Buzzer control
// =============================================
void updateBuzzer() {
  warningActive = checkWarning();
  if (warningActive) {
    unsigned long now = millis();
    if (now - lastBuzzer < 500) return;
    lastBuzzer = now;
    digitalWrite(BUZZER_PIN, !digitalRead(BUZZER_PIN));
  } else {
    digitalWrite(BUZZER_PIN, LOW);
  }
}

// =============================================
// GET /set?no1=value&no2=value ...
// =============================================
void handleSet() {
  int updated = 0;
  for (int i = 1; i <= SLOT_COUNT; i++) {
    String paramName = "no" + String(i);
    if (server.hasArg(paramName)) {
      slot[i - 1] = server.arg(paramName);
      updated++;
    }
  }
  server.send(200, "application/json", "{\"updated\":" + String(updated) + "}");
}

// =============================================
// GET / → HTML dashboard
// =============================================
void handleRoot() {
  String html = "<!DOCTYPE html><html lang=\"ko\"><head>"
  "<meta charset=\"UTF-8\">"
  "<meta name=\"viewport\" content=\"width=device-width,initial-scale=1.0\">"
  "<title>IoT Hub + AI</title>"
  "<style>"
  "*{margin:0;padding:0;box-sizing:border-box;}"
  "body{font-family:system-ui,sans-serif;background:#1a1a2e;color:#eee;padding:16px;}"
  "h1{text-align:center;font-size:1.3rem;margin-bottom:4px;color:#e94560;}"
  ".sub{text-align:center;font-size:0.7rem;color:#555;margin-bottom:16px;}"
  ".grid{display:grid;grid-template-columns:repeat(auto-fill,minmax(185px,1fr));gap:10px;}"
  ".card{background:#16213e;border-radius:8px;padding:12px;border-left:4px solid #0f3460;}"
  ".card.warn{border-left-color:#e94560;background:#1c0e1a;}"
  ".card .no{font-size:0.6rem;color:#555;margin-bottom:2px;}"
  ".card .label{font-size:0.8rem;color:#a0a0b0;margin-bottom:4px;}"
  ".card .value{font-size:1.2rem;font-weight:700;}"
  ".footer{text-align:center;margin-top:16px;font-size:0.7rem;color:#444;}"
  "</style></head><body>"
  "<h1>IoT Hub + AI</h1><div class=\"sub\">Method B - PC Broker</div>"
  "<div class=\"grid\">";

  for (int i = 0; i < SLOT_COUNT; i++) {
    bool isWarn = false;
    String val = slot[i];
    if ((i == 6 || i == 7 || i == 8) && val != "0" && val != "--") isWarn = true;
    if (i == 19 && val != "--" && val.toInt() < 50) isWarn = true;
    html += "<div class=\"card" + String(isWarn ? " warn" : "") + "\">";
    html += "<div class=\"no\">#" + String(i + 1) + "</div>";
    html += "<div class=\"label\">" + String(label[i]) + "</div>";
    html += "<div class=\"value\">" + val + "</div></div>\n";
  }

  html += "</div><div class=\"footer\">IoT Hub + AI Broker | iothub.co.kr</div></body></html>";
  server.send(200, "text/html; charset=utf-8", html);
}

// =============================================
// GET /status → JSON
// =============================================
void handleStatus() {
  String json = "{";
  for (int i = 0; i < SLOT_COUNT; i++) {
    if (i > 0) json += ",";
    json += "\"no" + String(i + 1) + "\":\"" + slot[i] + "\"";
  }
  json += ",\"warning\":" + String(warningActive ? "true" : "false") + "}";
  server.send(200, "application/json", json);
}

// =============================================
// 404
// =============================================
void handleNotFound() {
  server.send(404, "text/plain", "404 - Use /set?no1=value  or  /  or  /status");
}

// =============================================
// TFT rendering (same as Part 22)
// =============================================
void updateTFT() {
  unsigned long now = millis();
  if (now - lastScroll < SCROLL_INTERVAL) return;
  lastScroll = now;
  tft.fillScreen(C_BG);

  tft.fillRect(0, 0, 320, 28, TFT_WHITE);
  tft.setTextColor(TFT_BLACK, TFT_WHITE);
  char buf[40];
  sprintf(buf, "IoT Hub [%d/%d]",
    scrollOffset / ITEMS_PER_PAGE + 1,
    (SLOT_COUNT + ITEMS_PER_PAGE - 1) / ITEMS_PER_PAGE);
  tft.drawString(buf, 4, 6, 2);

  for (int i = 0; i < ITEMS_PER_PAGE; i++) {
    int idx = scrollOffset + i;
    if (idx >= SLOT_COUNT) break;
    int y = 36 + i * 52;
    String val = slot[idx];

    bool isWarn = false;
    uint16_t cardBg = C_CARD;
    if ((idx == 6 || idx == 7 || idx == 8) && val != "0" && val != "--") {
      isWarn = true; cardBg = C_CARD_WARN;
    }
    if (idx == 19 && val != "--" && val.toInt() < 50) {
      isWarn = true; cardBg = C_CARD_WARN;
    }

    cards[i] = {4, y, 312, 48, idx};
    tft.fillRoundRect(4, y, 312, 48, 6, cardBg);
    tft.setTextColor(C_LABEL, cardBg);
    tft.drawString(label[idx], 14, y + 4, 2);
    tft.drawLine(14, y + 24, 306, y + 24, TFT_WHITE);
    tft.setTextColor(isWarn ? TFT_WHITE : C_VALUE, cardBg);
    tft.drawString(val, 18, y + 28, 4);
    tft.setTextColor(C_LABEL, cardBg);
    tft.drawString(getUnit(idx), 250, y + 28, 2);
    if (idx == 3 || idx == 6 || idx == 7 || idx == 8 || idx == 10 || idx == 19) {
      tft.drawString(":", 290, y + 4, 2);
    }
  }

  scrollOffset += ITEMS_PER_PAGE;
  if (scrollOffset >= SLOT_COUNT) scrollOffset = 0;
}

String getUnit(int idx) {
  switch (idx) {
    case 0: case 2: case 11: case 16: return "C";
    case 1: case 18: return "%";
    case 12: return "ppm"; case 13: return "ug";
    case 14: return "W"; case 15: return "L";
    case 19: return "g";
    default: return "";
  }
}

// =============================================
// Touch handling
// =============================================
void handleTouch() {
  if (!ts.tirqTouched() && !ts.touched()) return;
  TS_Point p = ts.getPoint();
  int tx = map(p.x, 200, 3800, 0, 320);
  int ty = map(p.y, 200, 3800, 0, 240);

  for (int i = 0; i < 4; i++) {
    CardZone cz = cards[i];
    if (tx >= cz.x && tx <= cz.x + cz.w &&
        ty >= cz.y && ty <= cz.y + cz.h) {
      int idx = cz.slotIdx;
      if (idx < 0 || idx >= SLOT_COUNT) break;
      if (idx == 3) { slot[idx] = (slot[idx] == "ON") ? "OFF" : "ON"; }
      else if (idx == 10) { slot[idx] = (slot[idx] == "ON") ? "OFF" : "ON"; }
      else if (idx == 6 || idx == 7 || idx == 8 || idx == 19) { slot[idx] = "0"; }
      lastScroll = 0;
      break;
    }
  }
}

// =============================================
// 🆕 Send the 20 sensor values to the PC (new in Part 24)
// =============================================
void sendDataToPC() {
  WiFiClient client;
  HTTPClient http;

  String url = String(PC_URL) + "/data";
  String body = "{";
  for (int i = 0; i < SLOT_COUNT; i++) {
    if (i > 0) body += ",";
    body += "\"no" + String(i + 1) + "\":\"" + slot[i] + "\"";
  }
  body += "}";

  http.begin(client, url);
  http.addHeader("Content-Type", "application/json");
  int code = http.POST(body);
  http.end();

  Serial.print("Data sent: HTTP ");
  Serial.print(code);
  Serial.print(" ("); Serial.print(body.length());
  Serial.println(" bytes)");
}

// =============================================
// 🆕 Fetch commands from the PC (new in Part 24)
// =============================================
void checkCommand() {
  WiFiClient client;
  HTTPClient http;

  String url = String(PC_URL) + "/command";
  http.begin(client, url);
  int code = http.GET();

  if (code == 200) {
    String resp = http.getString();
    if (resp != "{}" && resp != "") {
      Serial.print("Command received: ");
      Serial.println(resp);
      executeCommand(resp);
    }
  }
  http.end();
}

// =============================================
// 🆕 Execute command (new in Part 24)
// =============================================
void executeCommand(String json) {
  for (int i = 1; i <= SLOT_COUNT; i++) {
    String key = "no" + String(i);
    int pos = json.indexOf("\"" + key + "\":\"");
    if (pos < 0) continue;

    int start = pos + key.length() + 4;
    int end = json.indexOf("\"", start);
    String val = json.substring(start, end);

    slot[i - 1] = val;
    Serial.printf("  Slot %d (%s) <- %s\n", i, label[i - 1], val.c_str());
  }
  lastScroll = 0;
}
loop() + three functions sendDataToPC, checkCommand, executeCommand + the PC_URL definition at the top. None of the existing TFT/touch/buzzer/web-server/warning features were touched.Python Flask server (installed on the PC)
This is the heart of Method B. Your PC needs Python 3.8 or newer installed.
Install the libraries
In a terminal (Mac/Linux) or the Command Prompt (Windows):
pip install flask requestsFull code (server.py)
Just save this one file on the PC and run it. You only need to change three spots: OPENAI_API_KEY, TELEGRAM_BOT_TOKEN, and YOUR_CHAT_ID.
from flask import Flask, request, jsonify
import requests
import threading
import time
import json
import urllib.request
import urllib.parse

# =============================================
# 1. Settings (fill in yourself!)
# =============================================
OPENAI_API_KEY = "sk-your-api-key-here"
OPENAI_URL     = "https://api.openai.com/v1/chat/completions"
AI_MODEL       = "gpt-3.5-turbo"

TELEGRAM_BOT_TOKEN = "123456:ABC-DEF1234ghijk"
YOUR_CHAT_ID = 123456789

# =============================================
# 2. Flask app
# =============================================
app = Flask(__name__)

latest_data = {}
pending_commands = {}
last_ai_time = 0
AI_INTERVAL = 300

LABELS = [
    "Living Temp","Living Hum","Outside Temp","AC",
    "Boiler","Stove","Gas Leak","Fire",
    "Front Door","Door Lock","Living Light","Fridge Temp",
    "CO2","Dust PM2.5","Power","Water",
    "Hot Water","Rain","Bath Hum","Pet Bowl"
]

# =============================================
# 3. ESP32 → PC: receive sensor data
# =============================================
@app.route('/data', methods=['POST'])
def receive_data():
    global latest_data
    data = request.get_json()
    if data:
        latest_data = data
        print(f"[DATA] Received {len(data)} sensor values")
    return jsonify({"status": "ok"})

# =============================================
# 4. ESP32 ← PC: deliver commands
# =============================================
@app.route('/command', methods=['GET'])
def send_command():
    global pending_commands
    if pending_commands:
        cmd = json.dumps(pending_commands)
        pending_commands = {}
        print(f"[CMD] Sent: {cmd}")
        return cmd
    return "{}"

# =============================================
# 5. Handle Telegram commands
# =============================================
def handle_telegram_command(text):
    global pending_commands
    tl = text.lower().strip()

    if "에어컨" in text or "ac" in tl:
        if "켜" in text or "on" in tl:
            pending_commands["no4"] = "ON"
            return "에어컨 ON"
        elif "꺼" in text or "off" in tl:
            pending_commands["no4"] = "OFF"
            return "에어컨 OFF"

    if "조명" in text or "불" in text or "light" in tl:
        if "켜" in text or "on" in tl:
            pending_commands["no11"] = "ON"
            return "조명 ON"
        elif "꺼" in text or "off" in tl:
            pending_commands["no11"] = "OFF"
            return "조명 OFF"

    if "상태" in text or "집" in text or "status" in tl:
        return build_status_report()

    return None

def build_status_report():
    if not latest_data:
        return "아직 센서 데이터가 없습니다."
    report = "집 상태 보고\n\n"
    warnings = []
    for i in range(20):
        val = latest_data.get(f"no{i+1}", "--")
        report += f"  {LABELS[i]}: {val}\n"
        if i == 6 and val not in ("0", "--"): warnings.append("가스 누출!")
        if i == 7 and val not in ("0", "--"): warnings.append("화재 감지!")
        if i == 8 and val not in ("0", "--"): warnings.append("현관문 열림!")
        if i == 19 and val != "--":
            try:
                if int(val) < 50: warnings.append("반려견 밥 보충!")
            except: pass
    if warnings:
        report += "\n" + "\n".join(warnings)
    return report

# =============================================
# 6. AI analysis (background)
# =============================================
def ai_analysis_loop():
    global last_ai_time, pending_commands
    while True:
        time.sleep(30)
        if not latest_data: continue
        now = time.time()
        if now - last_ai_time < AI_INTERVAL: continue
        last_ai_time = now

        try:
            data_text = "\n".join(
                f"{LABELS[i]}: {latest_data.get(f'no{i+1}', '--')}"
                for i in range(20)
            )
            system_prompt = (
                "You are an AI home assistant. Analyze the sensor data "
                "and provide a brief English summary. "
                "1) Any warnings? 2) Any anomalies? 3) Recommended actions. "
                "Keep it under 4 sentences."
            )
            resp = requests.post(
                OPENAI_URL,
                headers={
                    "Authorization": f"Bearer {OPENAI_API_KEY}",
                    "Content-Type": "application/json"
                },
                json={
                    "model": AI_MODEL,
                    "messages": [
                        {"role": "system", "content": system_prompt},
                        {"role": "user", "content": data_text}
                    ],
                    "max_tokens": 200
                },
                timeout=30
            )
            if resp.status_code == 200:
                content = resp.json()["choices"][0]["message"]["content"]
                print(f"[AI] {content}")
                # Send the AI analysis result via Telegram
                send_telegram(YOUR_CHAT_ID, "[AI 분석]
" + content)
            else:
                print(f"[AI] API error: {resp.status_code}")
        except Exception as e:
            print(f"[AI] Error: {e}")

# =============================================
# 7. Telegram bot (polling)
# =============================================
def telegram_loop():
    base_url = f"https://api.telegram.org/bot{TELEGRAM_BOT_TOKEN}"
    last_update_id = 0
    print("[TELEGRAM] Bot started. Send /start to begin.")

    while True:
        time.sleep(3)
        try:
            url = f"{base_url}/getUpdates?offset={last_update_id + 1}&timeout=10"
            resp = requests.get(url, timeout=15).json()
            for update in resp.get("result", []):
                last_update_id = update["update_id"]
                if "message" not in update: continue
                msg = update["message"]
                chat_id = msg["chat"]["id"]
                text = msg.get("text", "")
                print(f"[TELEGRAM] From {chat_id}: {text}")

                if text == "/start":
                    send_telegram(chat_id,
                        "AI 집사입니다.\n"
                        "'상태', '에어컨 켜줘/꺼줘', '조명 켜줘/꺼줘'")
                    continue

                reply = handle_telegram_command(text)
                if reply:
                    send_telegram(chat_id, reply)
                else:
                    send_telegram(chat_id,
                        "'상태', '에어컨 켜줘/꺼줘', '조명 켜줘/꺼줘' 중에 말해주세요.")
        except Exception as e:
            print(f"[TELEGRAM] Error: {e}")

def send_telegram(chat_id, text):
    url = f"https://api.telegram.org/bot{TELEGRAM_BOT_TOKEN}/sendMessage"
    data = urllib.parse.urlencode({"chat_id": chat_id, "text": text}).encode()
    urllib.request.urlopen(url, data=data)

# =============================================
# 8. Run
# =============================================
if __name__ == "__main__":
    threading.Thread(target=ai_analysis_loop, daemon=True).start()
    threading.Thread(target=telegram_loop, daemon=True).start()
    print("=" * 50)
    print("  AI 집사 서버 시작")
    print("=" * 50)
    app.run(host="0.0.0.0", port=5000, debug=False)
Telegram setup
Telegram in the app store, install it, sign up with your phone number, and you're done. Takes about a minute.Create the bot (1 minute)
1. In the Telegram app, search for @BotFather → start a chat. 2. Type /newbot. 3. Enter a bot name → My Home AI Butler. 4. Enter a bot username → MyHomeAIBot (must be unique). 5. BotFather gives you a token → copy it and paste it into TELEGRAM_BOT_TOKEN.
Find your Chat ID (30 seconds)
1. In Telegram, search for @userinfobot → start a chat. 2. Type /start. 3. Id: 123456789 ← paste this number into YOUR_CHAT_ID.
How to run
Run the server on the PC
1. Save the server.py code above on the PC with the filename server.py. 2. In a terminal (Mac) or the Command Prompt (Windows), move to the folder containing server.py. 3. Install the libraries (first time only): pip install flask requests. 4. Run the server: python server.py. 5. If you see the output below, it worked:
==================================================
  AI 집사 서버 시작
==================================================
[TELEGRAM] Bot started. Send /start to begin.
6. Find the PC's IP address: on Mac, ifconfig | grep inet; on Windows, ipconfig → IPv4 Address.
Upload to the ESP32
1. Open the Arduino IDE. (If you haven't installed it, here.) 2. Copy the full ESP32 code above and paste it into a blank Arduino IDE window. 3. Change YOUR_SSID and YOUR_PASSWORD to your home router's name/password. Don't delete the double quotes. 4. Change PC_URL to your PC's IP. Example: "http://192.168.0.100:5000". (For how to find the IP, see step 6 of Run the server on the PC just above.) 5. Connect the ESP32 to the PC with a USB cable. It must be a data cable, not charge-only. 6. In the Arduino IDE: Tools → Board → ESP32 Dev Module. Tools → Flash Size → 4MB. 7. Under Tools → Port, select the port the ESP32 is on. (Windows: COM3, Mac: /dev/cu.usbserial-XXXX.) 8. Click the Upload button (→). When the black window at the bottom shows "Done uploading," it's finished. 9. Open Tools → Serial Monitor and set the number at the bottom right to 115200. If Data sent: HTTP 200 appears after 30 seconds, it worked.
What to check
Check these five things in order. If any of them fails, jump straight to "Troubleshooting" just below.
1) Is the ESP32 sending data to the PC?
- Does
Data sent: HTTP 200appear in the ESP32 Serial Monitor (the black window)?
2) Did the PC receive the data?
- Does
[DATA] Received 20 sensor valuesappear in the black window runningserver.py?
3) Is the Telegram bot alive?
- When you open the Telegram app on your phone and send
/startto@MyHomeAIBot, does it reply? - If there's no reply to
/start, check thatserver.pyis running on the PC.
4) Is the AI analysis working?
- After waiting 5 minutes, does a message starting with
[AI]appear in theserver.pyblack window? - And at the same time, does an AI analysis message arrive over Telegram?
5) Do commands from your phone get through?
- Send "turn on the AC" to the Telegram bot.
- Does the bot reply with "에어컨 ON"?
- Does
Command receivedappear in the ESP32 Serial Monitor?
Troubleshooting
| Symptom | Cause | Fix |
|---|---|---|
ESP32 HTTP -1 | Wrong PC IP | Double-check the PC IP. Make sure both are on the same router |
pip install fails | Python not installed | Install 3.8+ from python.org. Check "Add to PATH" |
| Telegram bot doesn't respond | Chat ID mismatch | Re-check the ID with @userinfobot |
[AI] API error: 401 | API key error | Check the key's status in the OpenAI dashboard |
import requests error | Library not installed | Re-run pip install flask requests |
What we've done so far
- ESP32: still the brain. Receives sensors + TFT + talks to the PC. The code was one copy-paste.
- The old PC: keeps the API key safe + calls the AI + Telegram. Additional cost: $0
- Telegram: check AI analysis and send commands even when you're out
The core loop of Physical AI (sense → decide → act) is complete.
Next post preview
Method C — fully integrated on a Raspberry Pi. A single Pi replaces the ESP32 + PC + Telegram entirely. 100 lines of Python. 3W of power. Running 24/7 with no downtime.