
Home IoT Hub Series · 03
[Part 3] Living Room Temperature and Humidity Sensor Node
Attach a DHT22 living-room sensor node and send temperature and humidity to the hub.
This is the first real sensor node: living-room temperature and humidity with DHT22.
Keep the wiring simple and send the values to the hub over Wi-Fi. This pattern will repeat throughout the series.
![[Part 3] Living Room Temperature and Humidity Sensor Node hero image](/iot-lab/assets/living-room-dht22-sensor-node-hero.png)
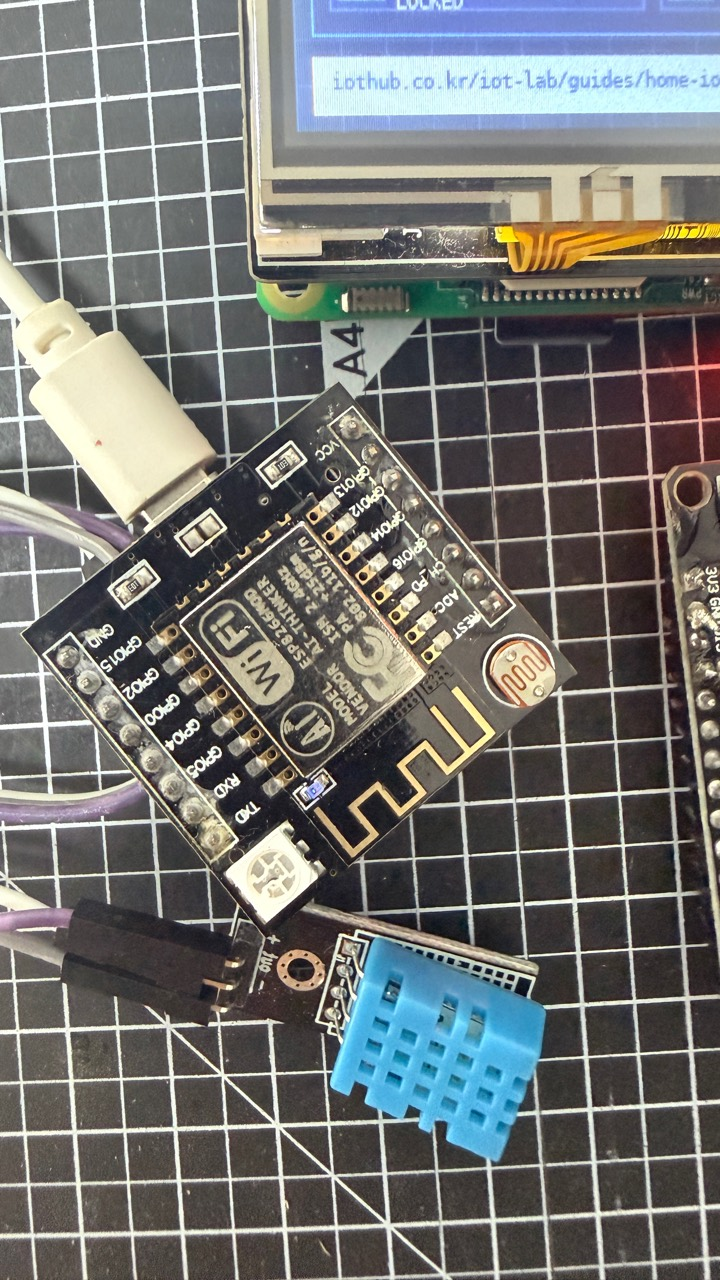
DHTTYPE value to DHT11.Parts and cost
| Part | Qty | Unit price | Note |
|---|---|---|---|
| Wemos D1 Mini (ESP8266) | 1개 | 2,000원 | Sensor node body |
| DHT22 온습도 센서 | 1개 | 2,000원 | DHT11보다 정밀. 온도 ±0.5℃, 습도 ±2% |
| Jumper wires (female-to-female) | 3개 | — | 앞서 산 10개 묶음에서 쓴다 |
| Micro USB 케이블 + 충전기 | 1세트 | — | 집에 굴러다니는 구형 충전기 재활용 |
| Total | 4,000원 | (charger/cable excluded) |
Pin wiring
![[Part 3] Living Room Temperature and Humidity Sensor Node wiring diagram](/iot-lab/assets/living-room-dht22-sensor-node-wiring.svg)
Full code
[Part 3] Living Room Temperature and Humidity Sensor Node - Code 2
#include <ESP8266WiFi.h>
#include <ESP8266HTTPClient.h>
#include <DHT.h>

// =============================================
// 1. Wi-Fi 설정 (두뇌의 AP에 접속)
// =============================================
const char* ssid     = "IoT_Hub_Net";
const char* password = "iothub1234";

// 두뇌의 AP IP (2편 코드에서 WiFi.softAP로 만든 주소)
const char* hubURL = "http://192.168.1.1";

// =============================================
// 2. DHT22 센서 설정
// =============================================
#define DHTPIN  5    // D1 (GPIO5)
#define DHTTYPE DHT22
DHT dht(DHTPIN, DHTTYPE);

// =============================================
// 3. 전송 간격 (밀리초)
// =============================================
#define INTERVAL 15000  // 15초마다 전송

// =============================================
// setup
// =============================================
void setup() {
  Serial.begin(115200);
  dht.begin();

  // Wi-Fi 연결 (두뇌의 AP에 붙는다)
  WiFi.mode(WIFI_STA);
  WiFi.begin(ssid, password);

  Serial.print("Connecting to IoT_Hub_Net");
  int dots = 0;
  while (WiFi.status() != WL_CONNECTED) {
    delay(500);
    Serial.print(".");
    dots++;
  }
  Serial.println();
  Serial.print("Connected! IP: ");
  Serial.println(WiFi.localIP());
  Serial.print("Sending to: ");
  Serial.println(hubURL);
  Serial.println("---");
}

// =============================================
// loop
// =============================================
void loop() {
  // DHT22에서 값 읽기
  float temp = dht.readTemperature(); // 섭씨
  float hum  = dht.readHumidity();    // 습도 %

  // 읽기 실패 체크
  if (isnan(temp) || isnan(hum)) {
    Serial.println("DHT22 read failed, retrying...");
    delay(2000);
    return;
  }

  // 시리얼 출력 (디버깅용)
  Serial.print("Temp: "); Serial.print(temp);
  Serial.print(" C, Hum: "); Serial.print(hum);
  Serial.println(" %");

  // 두뇌로 HTTP GET 전송
  // no1=온도, no2=습도
  WiFiClient client;
  HTTPClient http;
  String url = String(hubURL) + "/set?no1="
             + String(temp) + "&no2=" + String(hum);
  http.begin(client, url);
  int code = http.GET();
  http.end();

  Serial.print("HTTP "); Serial.print(code);
  Serial.print(" -> "); Serial.println(url);
  Serial.println();

  delay(INTERVAL);
}
Build notes
- Warm the sensor gently or breathe near it and confirm both temperature and humidity change on the hub.
- Power on the hub brain first so the node can join
IoT_Hub_Net. - Use the same slot number written in the source code.
- Open the serial monitor at 115200 baud and confirm
HTTP 200. - If the value does not appear on the hub, recheck wiring, GPIO number, and Wi-Fi connection.