IOTHub IoT Lab
Practical IoT references in one place
ESP boards, firmware, power, and network patterns are organized from a real-build perspective. The focus is not only whether a demo works on a desk, but whether the device can keep running after installation.
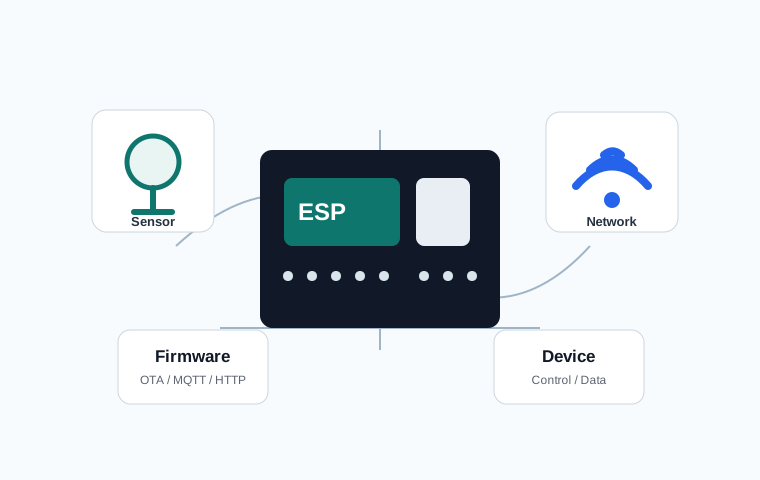
How to use IoT Lab
For a first build, start with the home IoT hub overview, then move to board selection, development software, and the power and noise checklist. That order reduces common failures before they become hard-to-debug field problems.
ESP devices can fail even when the code is correct. Weak USB cables, unstable adapters, missing common ground, boot-sensitive pins, and Wi-Fi reconnection behavior often decide whether a device survives real use.
Board Catalog
Compare pin maps, power requirements, boot pins, memory, and communication features by board. The goal is to separate simple Wi-Fi nodes from builds that need BLE, USB, PSRAM, or more GPIO headroom.
IoT News & Trends
Track boards, wireless protocols, and tooling changes from a builder's perspective. Each note focuses on what changes in actual device decisions.
Development Software
Tools for coding, uploading firmware, inspecting logs, testing MQTT, and automating workflows. Driver, port, and repeatable upload behavior matter more than installation alone.
Custom Build Notes
Turn field requirements into hardware specs, firmware behavior, and operational workflows. Power, placement, alerts, data retention, and maintenance are handled before wiring.
Checks before a real build
- Verify the device on the final power adapter, not only from a laptop USB port.
- When sensor values jump, inspect placement, wiring length, noise, and calibration before replacing parts.
- For MQTT devices, define topic names, retain/QoS use, reconnection behavior, and offline logs early.
- For installed devices, decide whether OTA updates and recovery paths are required before deployment.
What makes an IoT note useful in practice
A working prototype is only the first checkpoint. A useful field note also explains where the device should be installed, what can make the value wrong, and how the hub should react when the value crosses a threshold.
Placement before replacement
When a sensor behaves badly, replacing the module is usually the last step. First check sunlight, airflow, condensation, cable length, common ground, and power noise. Many “bad sensors” are actually bad installation positions.
Recovery rules matter
Wi-Fi devices must survive router restarts, short power drops, HTTP timeouts, and stale readings. The guides favor retry limits, visible last-updated times, and local logs because those are what make a small node maintainable.
Documentation is part of the build
Slot numbers, URLs, sensor types, and calibration values should be recorded while the device is installed. The Home IoT Hub series uses a 20-slot map for exactly this reason: maintenance becomes easier when every node has a clear place in the system.